The last time I was at a friend’s house, I was strolling through the channels on his TV. I had a general idea of the station I wanted, but I had no idea what channel number to dial.
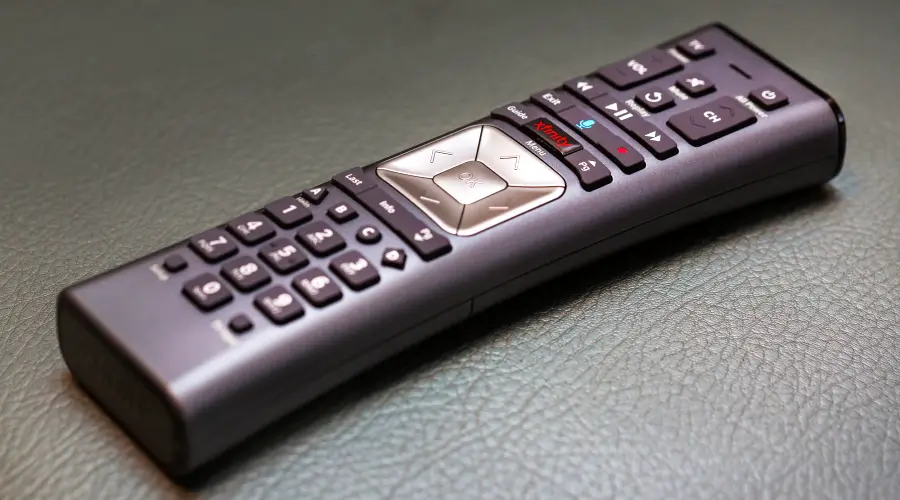
This is when my companion arrives and coolly takes the remote from me before speaking into the remote and finding the channel we want. He did have the Xfinity XR voice control, and he used it to flex on me very forcefully. So it was only a matter of time until I was able to get an Xfinity subscription for myself.
As soon as I figured out how to link the remote and became acquainted with the device’s functions, the remote worked like a charm. While it may be difficult to change the TV input, you’ve probably already worked that out if you’re reading this. Don’t be alarmed; I’ve got this. Let me walk you through the process step-by-step.
The input button on the Xfinity remote may be used to move between HDMI, USB, Component Video, and other inputs on your TV. If you have a different model of Xfinity remote, there are a couple of different methods to set up and pair it up with your TV and your X1 TV box.
How do we do this? Let’s see.
Program Xfinity X1 Remote To Xfinity X1 TV Box
The X1 voice remote must be used in conjunction with an active subscription to Xfinity X1 in order to be able to use the “Program Remote” feature.
If you don’t have a voice remote, press the “A” button on your remote and choose “Remote Setup,” then follow the on-screen instructions.
Program Xfinity X1 Remote for TV & Audio Control Using The Online Code Lookup Tool
Select the Xfinity remote you have and click “Continue” to utilize the online Remote Code Lookup tool to set up your remote for the TV. After then, follow the directions that have been given.
Log on to the Xfinity My Account app, choose your TV Box, and then press “Setup a remote” to set up a new remote if you’ve misplaced your code. After selecting the remote control model, hit “Continue” to proceed. Then, pick either TV or Audio/Other and follow the on-screen instructions.
Pairing an Xfinity XR15 Voice Remote (Without Setup Button)
Xfinity and Info buttons may be long pressed for 5 seconds to link your XR15 voice remote. Wait for the light on the remote to change to green from red. Then, on the device’s screen, enter the 3-digit pairing code.
The remote control may be made to work with a TV Box by inputting the relevant code. Once you’ve done that, just follow the on-screen directions to configure your TV’s power, volume, and input options.

Pairing an Xfinity XR11 (Voice) Remote & XR5, XR2 Remotes (With Setup Button)
While ensuring your Xfinity X1 TV Box is connected to your TV, press and hold the Setup button on your remote until it glows green. When the green light begins to flash, press and hold the Xfinity button (XR2 and XR5 owners may need to press the Xfinity button up to 5 times).
You will then be prompted by the TV to input the three-digit code. Your TV Box will link with your remote if the code you input is valid.
Pairing The XR15 Remote To Your TV
- Your TV should be switched on when you push the Xfinity and Mute buttons on your remote for five seconds.
- Enter the manufacturer’s 5-digit code. Each time a digit is input, the remote’s light should flash. The small light will blink whether the code is legitimate once it is input (two green blinks = valid code; red blink + green blink = incorrect code).
- In order to turn the TV on, hit the Power button on the remote.
- The volume and mute buttons should work if the TV is turned back on after it shuts off.
- To get it to shut down the next time, use the next code on the TV manufacturer’s device.
The Xfinity Remotes don’t include an “OK” button like typical TV remotes, so you can’t make a selection. Instead, they’ve come up with a lot more straightforward approach, one that you may not have considered at the outset.
The “Input” button on your TV may be used to choose between the many inputs that are connected to your TV. HDMI 1, HDMI 2, and AV are just a few of the many inputs that may be accessed using the Input button.
Once you’ve settled on the input, you can’t leave it there to make a decision in the XR series. Don’t keep pressing the button many times if you notice a delay in scrolling through the various inputs.
Inputs To Switch Between
The following information on the most common kinds of TV inputs might be helpful now that you are aware of how to switch between them on your TV.
- The HDMI – High Definition Media Input – port is the most prevalent on all televisions. It’s a plug-in that works with audio and video and is easy to use.
- Most often encountered on older television sets without HDMI connectors, component video Red, yellow, and white AV (Audio/Video) ports throughout this port’s design.
- To connect your computer/laptop to the television, utilize the DVI port.
- VGA performs the same thing; however, it doesn’t have audio capabilities.
- TVs with USB ports may perform a variety of tasks. An antenna might be powered by a USB port, as well as a USB flash drive.
- Ethernet — You may use an ethernet cable with these connections to connect your smart TV to the internet quicker than you can with WiFi.
- You may connect your cable TV to the antenna in this port if you’re a cable TV user.

Devices You Can Connect To Inputs
When you know what each input on your TV signifies, you may connect various devices to it.
- HDMI — Playstation and other game consoles, including Xbox and Wii, DVD players, and laptops.
- Laptops and PCs with DVI outputs
- Video Graphics Adapter (VGA)
- Aside from charging your phone, you may utilize USB-streaming gadgets.
- Ethernet is a more rapid means of connecting to the internet.
Optical Digital ports may also connect purely audio equipment, such as soundbars and speakers.
Conclusion
When setting up the remote, you may also long-press the Xfinity and Mute buttons for five seconds until the light at the top turns green and follow the on-screen instructions to link the remote to operate your TV.
It’s also a good idea to repeatedly press the Xfinity button on the XR11, XR5, and XR2 to view the on-screen pairing instructions when you first click it. If your network has more than one TV Box, you may have to do this. Once you’ve completed these steps, you’ll be able to use your Xfinity remotes with ease.
Best Seller List of Xfinity Remotes:
FAQs:

What input should my TV be on Xfinity?
HDMI is the current video input standard for the Xfinity TV Box, and it can be found here.
On the number pad, input is located to the left of the 0 key. When your remote is in TV mode, press the Input button on the side of the remote.
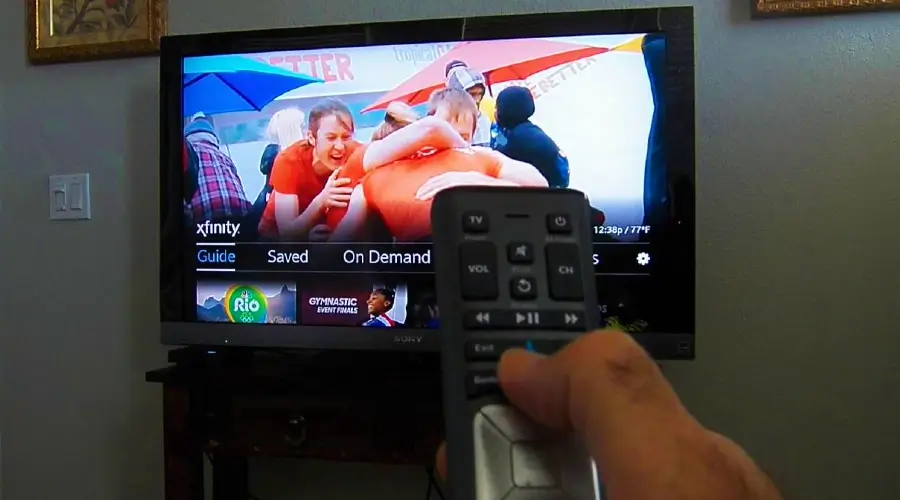
To access Xfinity, press the Xfinity button on your remote. Then, to go through the menu, use the arrow buttons on your keyboard.
Why does my TV say no video input?
Most of the time, this is because you are on the incorrect input. It is necessary to press the input button a few times to navigate through the numerous possible inputs and choose the appropriate one.
Last update on 2025-02-28

